


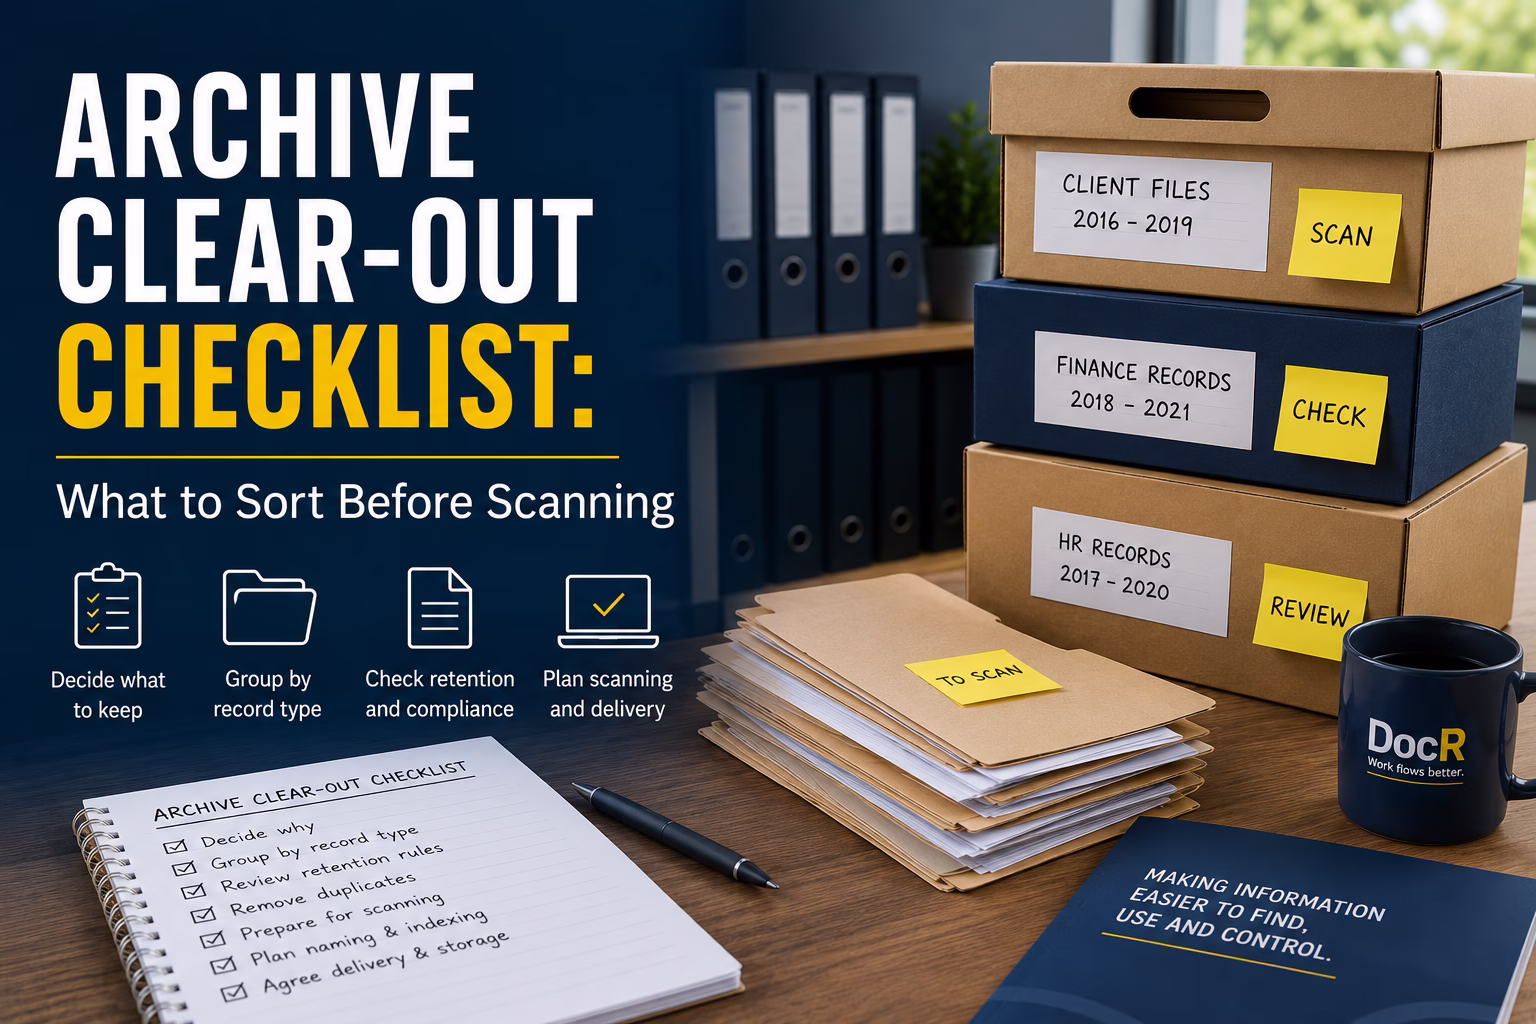
Archive Clear-Out Checklist: What to Sort Before Scanning
If your office archive is due for a clear-out, it is tempting to book a scanning service and let someone else deal with the boxes.
That can work, but only if the project is prepared properly.
A good scanning project is not just about turning paper into PDFs. It is about making sure the right documents are scanned, named, indexed, delivered and stored in a way your team can actually use afterwards.
This archive scanning checklist is written for office managers, operations managers, practice managers, admin leads and anyone else who has been handed the job of sorting old files, archive boxes or paper records before scanning.
Use it before requesting a quote, before moving boxes, and before agreeing how the final digital files should be delivered.
If you already know you need support, DocR provides document scanning services across London, Essex and the South East, including secure collection, preparation, scanning, OCR and digital delivery.
Why archive clear-outs often become harder than expected
Most archive clear-outs start with a simple goal:
“We need to get rid of these boxes.”
That is understandable. Paper takes up space. Archive cupboards fill up. Staff waste time searching. Storage costs creep up. An office move, audit, compliance review or backlog can suddenly make the issue urgent.
However, the problem is rarely just the number of boxes.
The real questions are usually:
- What is inside the boxes?
- What should be kept?
- What can be destroyed?
- What needs to be scanned?
- Who needs access afterwards?
- How should the digital files be named?
- Where should they be stored?
- How will people find them later?
If those questions are not answered before scanning, the business can end up with a digital version of the same mess.
The paper has gone, but people still cannot find what they need.
The aim: not just scanned files, usable records
Before you sort a single box, be clear on the outcome.
A successful archive scanning project should give you digital records that are:
- Easy to search
- Easy to identify
- Stored in a sensible structure
- Named consistently
- Accessible to the right people
- Protected where records are sensitive
- Linked to your retention rules
- Useful in day-to-day work
In plain English, the goal is not “get it scanned”.
The goal is:
“Make the information easier to find, use and control.”
That small shift changes how you prepare the archive.
Archive scanning checklist: what to sort before scanning
1. Decide why the archive is being cleared
Start with the business reason. This keeps the project focused and stops it becoming a vague “scan everything” exercise.
Common reasons include:
- Freeing up office space
- Preparing for an office move
- Reducing storage costs
- Making old files searchable
- Improving audit readiness
- Reducing time spent looking for records
- Moving from paper files to digital working
- Supporting a document control or records management project
Write the reason down before speaking to a supplier.
For example:
“We want to clear 80 archive boxes from the office and receive searchable PDFs, organised by client name and year, so the admin team can find historic files without searching through paper.”
That is much better than:
“We have some boxes that need scanning.”
The clearer the brief, the better the quote, the output and the result.
2. Group boxes by record type
Do not treat every box as the same.
Before scanning, separate the archive into broad record types. This helps with pricing, preparation, indexing and access control.
Typical record groups include:
- Client files
- Invoices and finance records
- HR records
- Contracts
- Compliance documents
- Project files
- Case files
- Medical or clinical records
- Property records
- Supplier files
- Training records
- Historic general admin
You do not need a perfect records management system at this stage. You just need enough separation to stop everything being mixed together.
A box labelled “2018 to 2022 old files” is not very useful.
A box labelled “Finance invoices, 2019, supplier records” is much easier to quote, scan and organise.
3. Identify anything that should not be scanned
Scanning everything is not always the best answer.
Some records may be:
- Duplicates
- Blank forms
- Old envelopes
- Drafts that are no longer needed
- Copies of documents held elsewhere
- Marketing material
- Out-of-date reference material
- Documents past their retention period
- Items that should be securely destroyed instead
This matters because every page scanned adds time, cost and digital clutter.
Before scanning, ask:
“Would someone realistically need to retrieve this later?”
If the answer is no, check your retention rules before deciding whether it needs scanning at all.
For records containing personal data, it is worth checking the ICO’s guidance on storage limitation. The principle is simple: personal data should not be kept longer than necessary for the purpose it is held.
For wider retention planning, The National Archives also provides useful guidance on retention and disposal.
If you are dealing with company accounting records, GOV.UK explains the rules for company and accounting records, including how long records usually need to be kept.
This is not about guessing. It is about avoiding the expensive mistake of scanning records the business no longer needs.
4. Flag confidential, sensitive or restricted files
Some archive boxes need more care than others.
Before collection or scanning, clearly flag records that contain:
- Personal data
- HR files
- Medical records
- Legal files
- Financial information
- Customer records
- Contracts
- Disciplinary documents
- Insurance files
- Highly sensitive internal records
These files may need tighter handling, restricted access, different naming, different delivery arrangements or secure destruction after scanning.
This is especially important if the finished files will be uploaded to SharePoint, OneDrive, a document management system or a shared drive.
The question is not only:
“Can we scan this?”
It is also:
“Who should be able to access it afterwards?”
5. Check whether staples, folders and bindings matter
A scanning supplier will usually handle preparation, but it still helps to understand the condition of the documents before asking for a quote.
Check whether the archive contains:
- Stapled documents
- Paper clips
- Lever arch files
- Ring binders
- Plastic wallets
- Bound booklets
- Fragile pages
- Torn documents
- Mixed paper sizes
- A3 pages
- Receipts or small slips
- Poor-quality copies
- Handwritten notes
- Sticky notes that must be captured
Document preparation affects time and price.
A neat box of loose A4 sheets is very different from a box of mixed binders, staples, folded receipts and fragile documents.
Do not worry if the archive is not perfect. Just be honest about what is inside it.
6. Decide what should happen to the original paper
Before scanning starts, agree what happens to the originals after the digital files are delivered.
The usual options are:
- Return the paper files
- Store the paper files for a period
- Securely shred them after approval
- Shred only selected records
- Keep legally important originals
- Return exceptions for internal review
This decision should not be left until the end.
A sensible process is:
- Scan the records
- Deliver the digital files
- Let the client review the output
- Hold the paper for an agreed period
- Return, store or shred based on instruction
For sensitive documents, make sure secure shredding includes appropriate confirmation or certification.
DocR can also support secure document shredding where that forms part of the clear-out.
7. Choose the level of searchability you need
Not all scanned files are equally useful.
A basic scanned image may show the document, but it may not let users search the text inside it.
If your team needs to find names, references, invoice numbers, addresses, case numbers or keywords, ask for OCR.
OCR stands for Optical Character Recognition. In simple terms, it means the scanned document is processed so the text can be searched.
For many archive scanning projects, OCR is one of the most useful parts of the job.
It helps staff search digital files instead of opening PDFs one by one.
Ask yourself:
- Do we need to search inside the documents?
- Do we only need the file name to be searchable?
- Do we need both?
- Are there handwritten documents that OCR may not read reliably?
- Do we need PDF or PDF/A?
- Do we need images, TIFF files or another format?
For most office archives, searchable PDFs are usually the practical starting point.
8. Agree the file naming rules before scanning
File naming is where many scanning projects succeed or fail.
If the files come back with unclear names, the team still has to spend time working out what everything is.
Before scanning, decide the fields that should appear in the file name.
Examples include:
- Client name
- Matter number
- Invoice number
- Employee name
- Supplier name
- Project name
- Date
- Year
- Department
- Record type
- Box number
A finance file might be named:
Supplier Name – Invoice Number – Date
A client file might be named:
Client Name – File Reference – Year
A project file might be named:
Project Name – Document Type – Date
Keep it practical. A file name should help people find the document quickly without becoming too long or difficult to manage.
9. Decide the folder structure
File names matter, but folder structure matters too.
Before scanning, decide how the final digital files should be organised.
Common structures include:
- By department
- By client
- By year
- By record type
- By project
- By supplier
- By employee
- By box number
- By retention category
For example:
Finance > Supplier Invoices > 2024
Client Files > Client Name > Matter Reference
HR > Former Employees > Year
The right structure depends on how your team looks for information.
Do not design the structure only around how the archive is packed today. Design it around how people need to retrieve files tomorrow.
10. Confirm who will check sample output
Before scanning the full archive, ask for a sample if the project is large, complex or important.
A sample helps confirm:
- Scan quality
- File naming
- OCR searchability
- Folder structure
- Indexing fields
- Delivery format
- Whether the output works for the team
The person checking the sample should not only be the project lead. Where possible, involve someone who actually uses the records day to day.
That person will quickly spot whether the files are easy to understand.
A sample can prevent hundreds or thousands of documents being scanned into a format that looks tidy but does not work in practice.
11. Decide where the digital files will live
Before scanning begins, know where the finished files are going.
They might be delivered into:
- SharePoint
- OneDrive
- A shared drive
- A document management system
- A case management system
- A finance system
- A secure cloud folder
- Encrypted digital transfer
This decision affects file naming, folder structure and access control.
For example, files going into SharePoint may need to follow a different structure from files going into a specialist document management system.
If you need help making scanned files easier to access and manage after scanning, DocR also offers smart cloud storage and document access support.
12. Create a simple box list
Before collection, create a box list.
It does not need to be complicated. A simple spreadsheet is enough.
Include:
- Box number
- Department
- Record type
- Date range
- Owner or contact
- Confidentiality level
- Scan yes or no
- Shred yes or no
- Return yes or no
- Notes
This gives everyone a basic control sheet.
It also helps avoid the classic archive problem:
“No one knows what was in which box.”
The box list becomes useful before, during and after the scanning project.
13. Nominate one project contact
Archive scanning projects become messy when too many people give different instructions.
Nominate one main contact who can answer questions about:
- Priorities
- File naming
- Confidential records
- Exceptions
- Delivery format
- Sample checks
- Shredding or returns
- Internal sign-off
That person does not need to know everything, but they should know who to ask internally.
This keeps the project moving and reduces delays.
14. Do not leave indexing until the end
Indexing means capturing key information about each document so it can be found and organised later.
For example:
- Client name
- Invoice number
- Date
- Department
- Reference number
- Employee name
- Document type
Indexing is not needed for every project, but it is very useful when the business needs more than basic scanned files.
If your team will search by invoice number, client name, matter reference or employee name, talk about indexing before scanning starts.
It is much harder to fix after the project is complete.
15. Think about the team who will use the files afterwards
The best test is simple:
“Will the people using these records know where to look?”
A scanning project should make life easier for the admin team, not create a new digital filing problem.
Before the project starts, ask the people who use the records:
- What do you search for most often?
- What information do you usually know when looking for a file?
- Do you search by name, date, reference or type?
- Which records cause the most interruptions?
- Which boxes are rarely touched?
- Which files are urgent when they are needed?
These answers should shape the scanning output.
Otherwise, the project may be tidy from the supplier’s point of view but frustrating for the people who need to use it.
Quick records scanning checklist before you ask for a quote
Before contacting a supplier, try to gather:
- Approximate number of boxes
- Document types
- Page condition
- Whether files are loose, stapled, foldered or bound
- Whether OCR is needed
- Whether indexing is needed
- Required file format
- Desired folder structure
- Delivery method
- Whether originals should be returned, stored or shredded
- Any confidentiality requirements
- Any deadline or trigger, such as an office move or audit
You do not need every answer before asking for help, but the more you can provide, the more accurate the quote will be.
A simple office archive clear-out process
If you need a practical starting point, use this process:
- Walk the archive area and estimate volume.
- Group boxes by department or record type.
- Remove obvious non-records and duplicates where safe to do so.
- Check retention rules before disposing of anything.
- Flag confidential or restricted records.
- Create a simple box list.
- Decide what needs OCR or indexing.
- Agree file naming and folder structure.
- Confirm where digital files should be delivered.
- Scan a sample before the full project if needed.
- Review the sample with someone who uses the records.
- Approve the full scanning project.
- Review delivered files.
- Decide whether originals are returned, stored or shredded.
That is enough structure to keep the project controlled without making it overcomplicated.
When to ask for help
You should consider getting help if:
- You have a large number of archive boxes
- The records are sensitive
- You need searchable PDFs
- You need indexing
- You are preparing for an office move
- Staff keep getting interrupted to find old records
- You are unsure what should be scanned or destroyed
- You need a clear digital structure after scanning
- You want documents uploaded into SharePoint, OneDrive or another system
The earlier you ask, the easier it is to shape the project properly.
A good supplier should not only ask “how many boxes?”
They should also ask how you need to find, use and control the information afterwards.
Final thought: clear the paper, but keep control of the information
An archive clear-out is a good opportunity to reduce paper, free space and make old records easier to access.
But scanning should not simply move the problem from shelves into folders.
Before scanning, sort the records, agree the structure, check the retention position, decide the naming rules and think about the people who need to find the files later.
That is how an archive scanning project becomes more than a tidy-up.
It becomes a practical improvement in how the business handles information.
If your office archive is ready for scanning, use this checklist first. Then request a document scanning quote from DocR and we can help you turn paper records into searchable digital files that are easier to find, use and control.
FAQs
Should we sort archive boxes before scanning?
Yes. You do not need to make every box perfect, but basic sorting helps reduce cost, confusion and unnecessary scanning. At minimum, group boxes by record type, department, date range and confidentiality level.
Should we scan every document in the archive?
Not always. Some documents may be duplicates, expired records, blank forms or items that no longer need to be retained. Check your retention rules before deciding what should be scanned, returned or securely shredded.
What does OCR mean in document scanning?
OCR means Optical Character Recognition. It turns scanned images into searchable text, so users can search inside PDFs for names, numbers, dates, references and keywords.
What is the best file format for scanned archive records?
For many business archives, searchable PDF or PDF/A is a practical option. The right format depends on how the files will be stored, whether they need long-term retention and whether they will be imported into another system.
How do we know how many archive boxes need scanning?
Start with a simple box count, then note the type of records, condition, foldering and whether the documents are loose, stapled or bound. A scanning supplier can then help estimate pages and quote more accurately.